Use only the TIFF format of data captured by Workswell Wiris (2nd gen/PRO)!
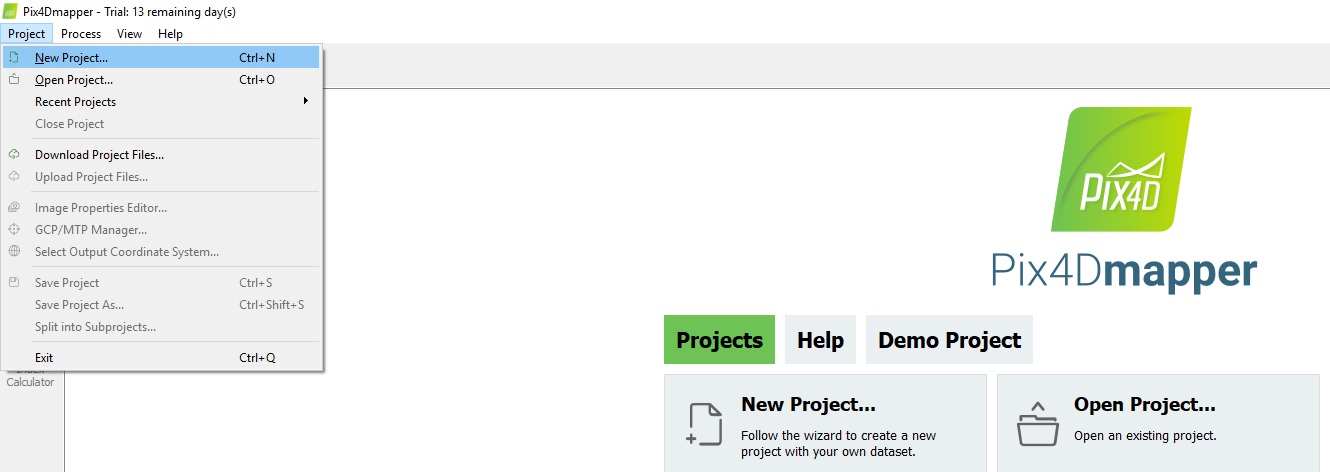
1. Click „New project“
2. Type a name of the project

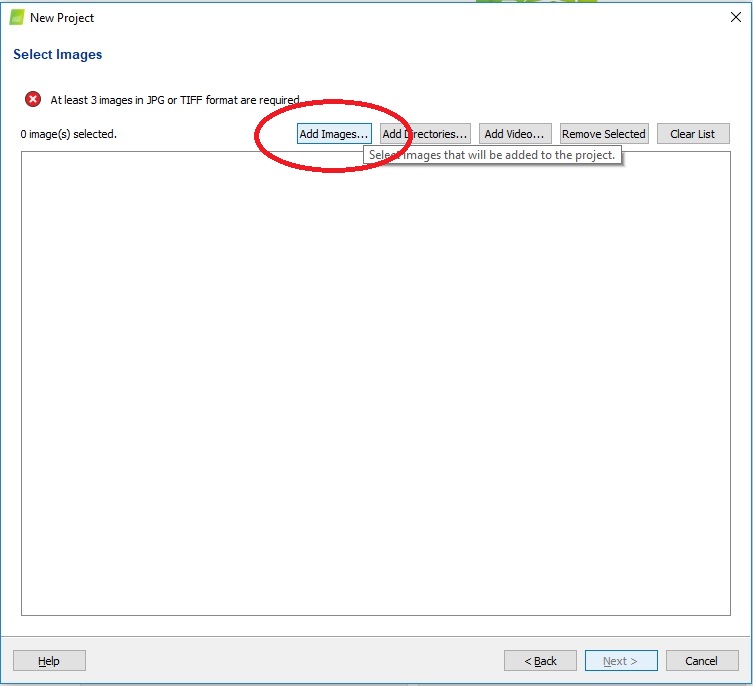
3. Add images (TIFF format only), click „Next“, the program will read the necessary metadata
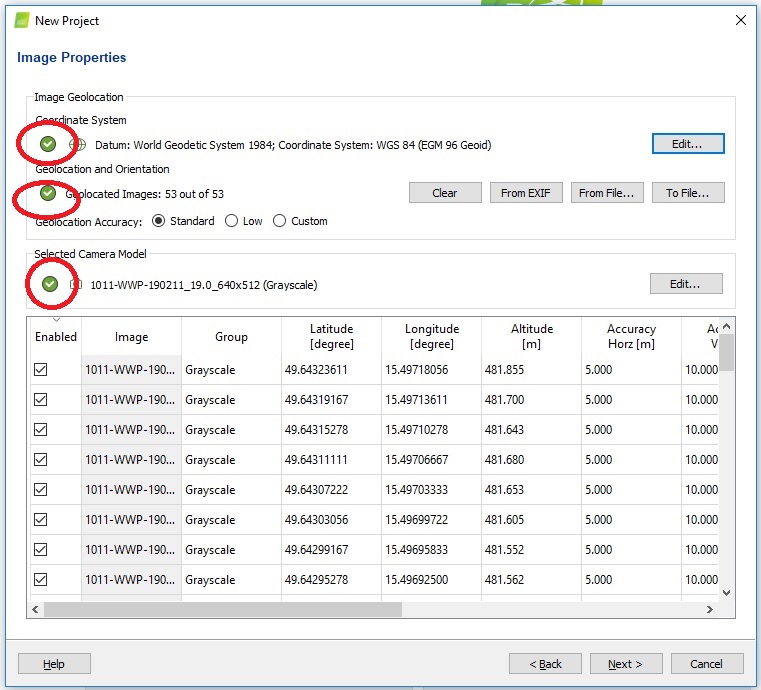
4. Check that all 3 icons are green (World Geodetics system, Geolocation and orientation of images, you can choose the accuracy, we recommend standard for agriculture and fve application), click „Next“
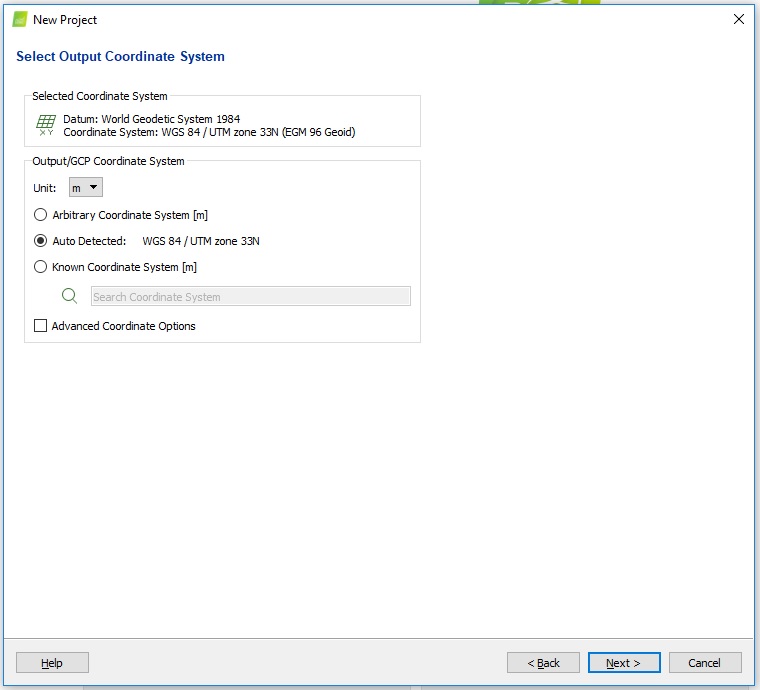
5. Choose the unit m/ft, click „Next“
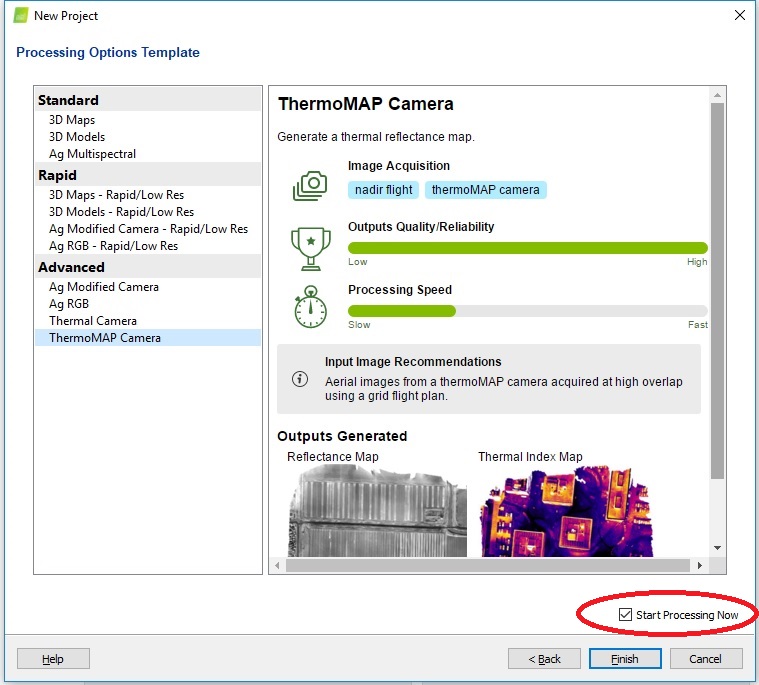
6. Choose ThermoMAP camera option, make sure that the „Start processing now“ is checked, click „Finish“
7. The program will start processing, wait until it is finished
8. The „Quality report“ appears, you can go ahead and click „Close“
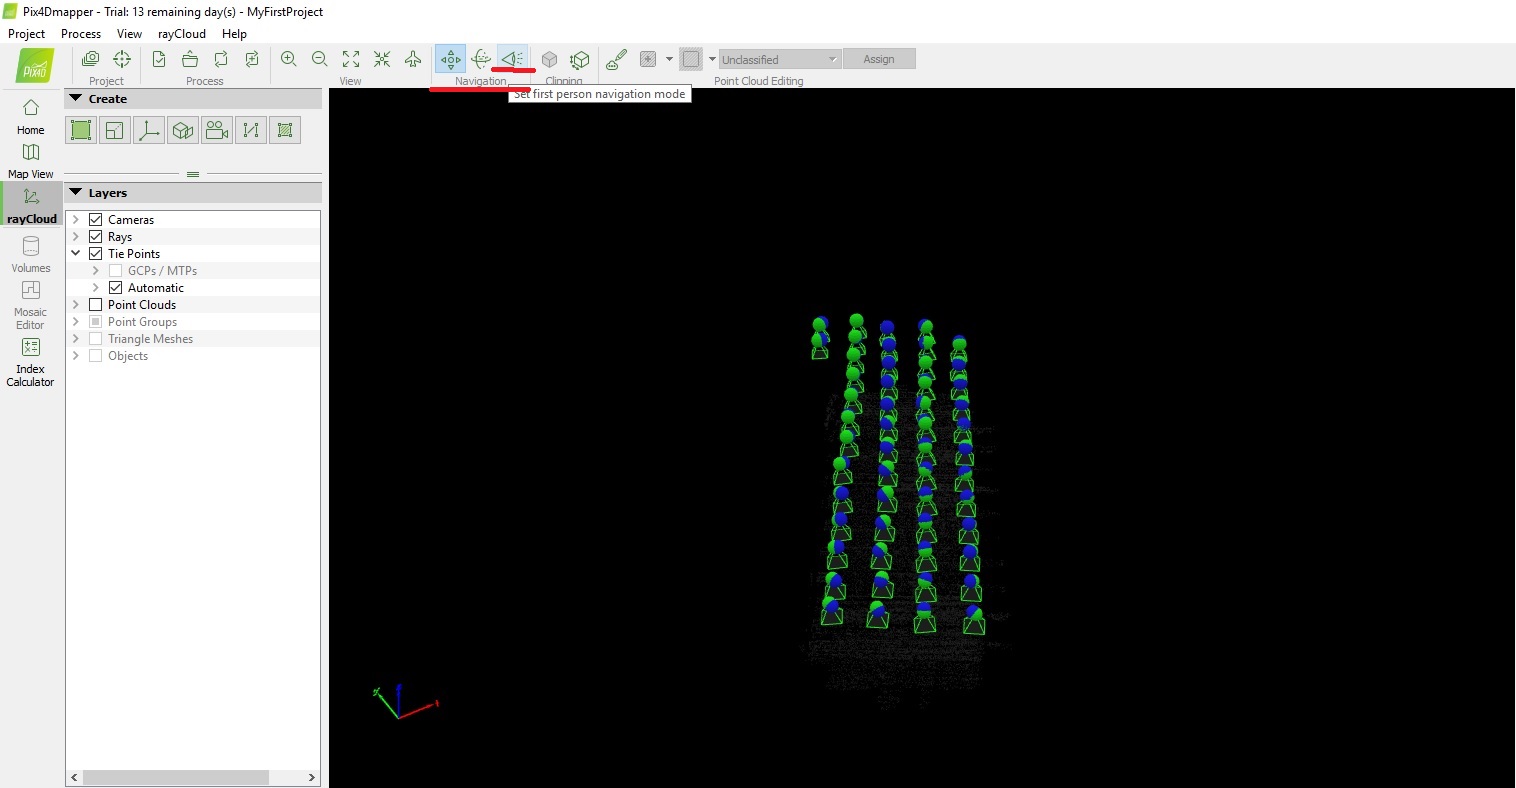
9. The „rayCloud“ appears, you can check that images are captured correctly
(green – ok, red – not included in the final map)
You can change your view by dragging your mouse, or when you click the „Set First Person Navigation Mode“, you can use WASD controls to move the model
10. Wait until „index calculator“ appears, then click on it

11.Click on “Indices” in the “3. Index Map” section on the right. Click „Add“. Type in the formula „grayscale/40 – 100“ (In case you captured data in the JPEG format and converted it via ThermoFormat, use ‘0.04*grayscale – 273.15’). Click „ok“. You can rename the formula by double-clicking on the name.

12. Make sure that you select this formula (we renamed it to „Workswell Formula“, see Step 12 above on how to do it).
Then click on „Generate“.

13. (You can choose the accuracy by number of classes, higher number means more accuracy)
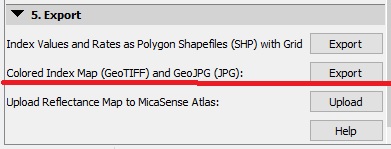
14. Then click on export button in the „5. Export section“ described as „colored index map (GEOTIFF) and GeoJPG (JPG)“
The saved map (in .tif/.jpg/.png) is in this directory:
C:\Users\Name Surname\Documents\pix4d\name_of_project\4_index\indices\temperatures
(There is the temperature scale in pdf too)